
The final cut is what we end up with after we cut out all the bits from the master copy that we don’t want. We can move some bits around, add in other elements, dialogue, narration, music, sound effects, captions, film title and credits. This process is called EDITING! And it’s a great opportunity to edit out material that doesn’t work, out-of-focus shots, bad takes, badly framed shots, wrong camera movements, and shaky zooms and pans. Unless that is the effect you wanted! 

I am presuming that you have used Stopmotion Studio to create your animated film. In that case, everything you need is within the app’s integrated movie editor with frame-by-frame preview and a time adjust feature between frames. You can also cut, copy, paste, delete and insert frames at any position. It’s simple to use. Themes, titles, fades and sound effects are easy to add.
However, you may prefer to use the built-in editor on your phone, such as iMovie for iphone and ipads and there will be ‘How To’ videos on the internet to guide you through how to use that particular product. I found this video on YouTube created by a teacher, Ana Maria Gach for anyone wanting to take a film project out of the Stop Motion Studio app, move to iMovie app, edit and save or share the Final Cut.
The important point is that video editing apps all work on the same basic principles. The video below, made by IADT student Beren McCormack, is a non-software-specific introduction to the basics of editing.
Before-You-Begin Tips:
- ALWAYS save the original version of your unedited film and audio recordings in a safe place. Export a copy to the editing app. That way, if something goes wrong you will always have your Master Copy!
- Be careful when using special and/or sound effects not to over use them as this can distract from your story.
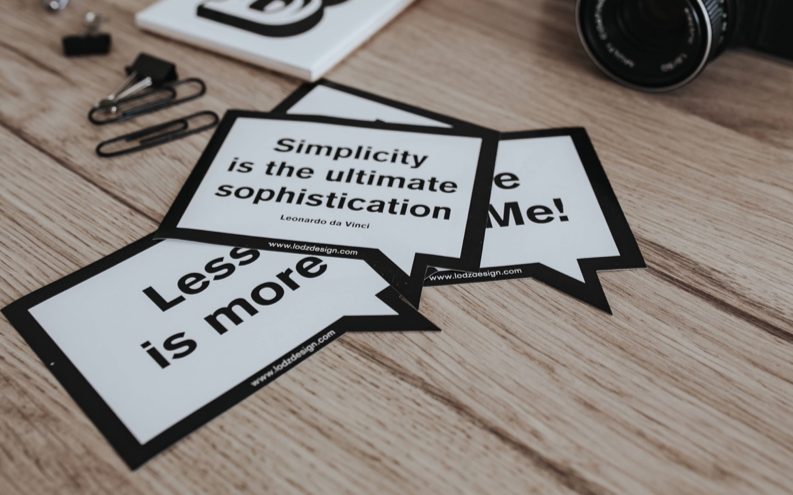
- Remember the most important function of the editing process is to tell your story. Don’t be afraid to delete footage that is not adding value to the story. A few seconds of a shot is often enough to let the viewer know what is happening in a scene. Sometimes Less is More!
Credit Where It’s Due!
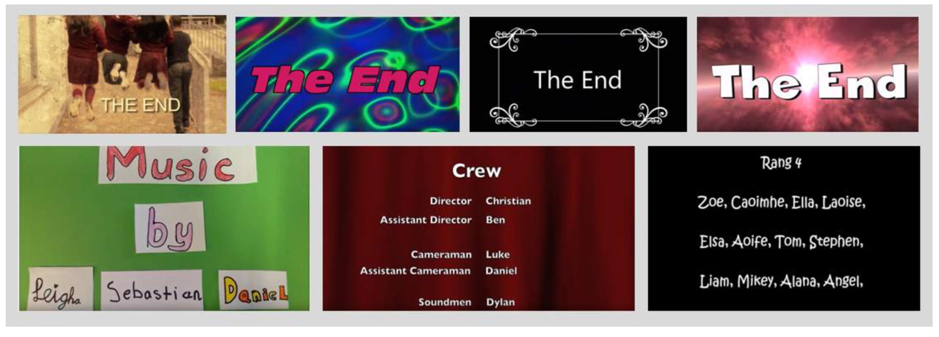
Film Titles and credits is text (names, crew roles) rolling up the screen at the beginning and end of your film. Most editing apps have built-in text editors so you can easily add a Film Title at the start of your film and a Credit Roll at the end of your film. The app will offer different templates, fonts, colours, etc. Select the one that you think best suits your film. Alternatively you could make your own artwork of Film Title and Credit Roll, then photograph them and add them to the timeline before exporting the Final Cut. Below are some examples of different styles used by children in films made for FÍS previously.
Be sure to credit everyone involved – that is, after all, film tradition! But I guess you already know that from going to the movies. Remember to save the Final Cut to a safe place and include the word ‘FINAL’ in the file title!!
Editing takes time so please be patient with yourself. Rome wasn’t built in a day. Give your film project and yourself all the time you need. Getting the Final Cut you are happy with will be worth it in the end. I will be back next Tuesday after the bank holiday with more Tips & Tricks! Happy Easter & remember to #StayHomeStaySafe 